Mention the Genesis theme framework to the web developers I know and you will always hear good reviews.
The idea behind WordPress theme frameworks is that they make theme design simple. A parent theme loaded with easy to access features provides a canvass that can be molded into different designs. Those designs are built as child themes.
Genesis is feature rich and very well written. There are hundreds of child themes for Genesis. StudioPress – the team behind Genesis – has 43 plus child themes of its own and a new one is released every month.
Used with Dynamik – an overlay that opens up the power of Genesis for easy use, Genesis becomes an incredibly malleable framework for those with little or no design skill and little code knowledge.
One way to add a little design elegance to any theme is to style the menus.
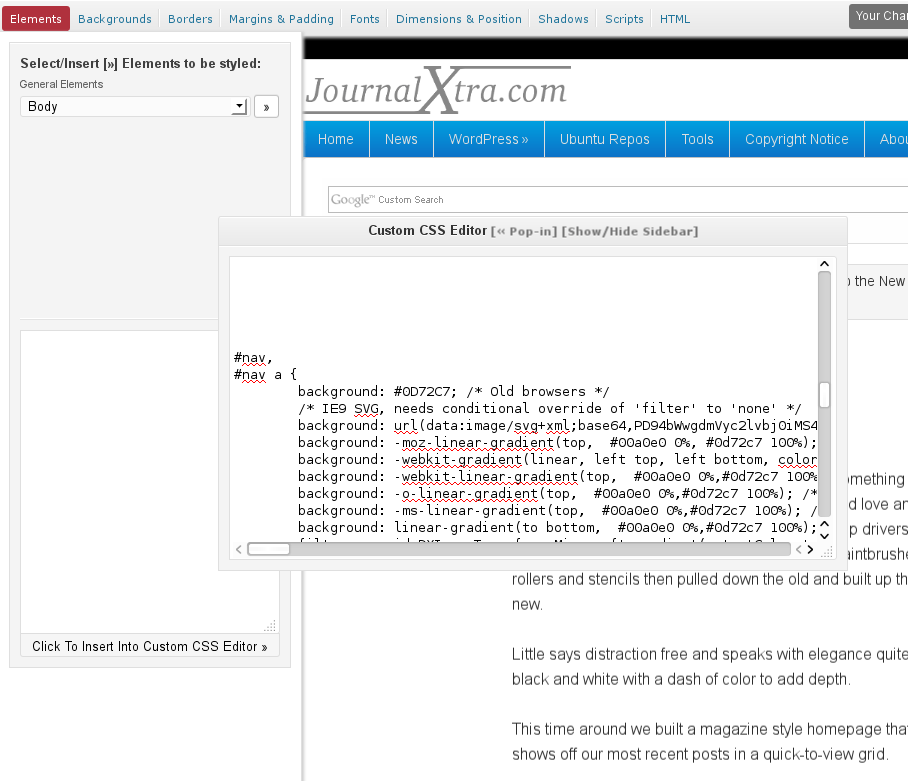
Genesis menus are easy to style with a little CSS to add images, gradients, borders and shadow:
- Use images instead of menu tab texts
- Add background images to the tabs
- Make borders thicker
- Create menu gradients
- Add box shadows
- …
Except for gradients, all the above can be done visually with Dynamik.
When not using Dynamik or when you are using Dynamik and need to add a background gradient, you need to use the CSS selectors shown below for the different menu levels.
For each case, add CSS between the brackets ( {} ).
An awesome place to generate shadows and gradients is CSS3Generator.
When you need to centre Genesis menu tabs, read the guide here.
CSS selectors for the header menu
These selectors are for any custom menu put into the header widget.
#header .menu,
#header .menu a {

}

#header .menu .current_page_item a,
#header .menu .current-cat a,
#header .menu .current-menu-item a,
#header .menu li a:active,
#header .menu li a:hover {

}

#header .menu li ul li,
#header .menu li ul li a {

}

#header .menu .current_page_item li ul li a,
#header .menu .current-cat li ul li a,
#header .menu .current-menu-item li ul li a,
#header .menu li ul li a:active,
#header .menu li ul li a:hover {

}
CSS selectors for the primary nav bar
These selectors affect the menu usually positioned below the header.
#nav,
#nav a {

}

#nav .current_page_item a,
#nav .current-cat a,
#nav .current-menu-item a,
#nav li a:active,
#nav li a:hover {

}

#nav li ul li,
#nav li ul li a {

}

#nav .current_page_item li ul li a,
#nav .current-cat li ul li a,
#nav .current-menu-item li ul li a,
#nav li ul li a:active,
#nav li ul li a:hover {

}
CSS selectors for the secondary menu
These selectors are used to style the menu that’s usually placed above the header.
#subnav,
#subnav a {
}
#subnav .current_page_item a,
#subnav .current-cat a,
#subnav .current-menu-item a,
#subnav li a:active,
#subnav li a:hover {
}
#subnav li ul li,
#subnav li ul li a {
}
#subnav .current_page_item li ul li a,
#subnav .current-cat li ul li a,
#subnav .current-menu-item li ul li a,
#subnav li ul li a:active,
#subnav li ul li a:hover {
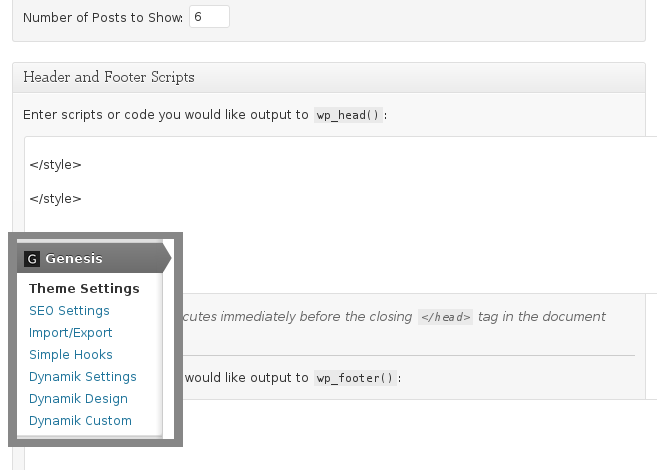
}When not using Dynamik, put the CSS into the child theme’s style.css sheet or add it through Genesis > Theme Settings > Header Scripts.
I highly recommend Dynamik for Genesis child theme develoment.