Make a Useful WordPress 404 Page
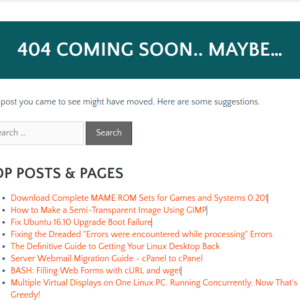
The standard WordPress 404 page is next to useless. Like most 404 pages, the basic WordPress one shows a ‘Nothing found’ message and a search box. With a few quick tweaks we can make your 404 page useful, like ours. Requirements The requirements to make a custom 404 page in WordPress are simple: 404 Solution … Read more